How are you doing, STEAMers? Let’s learn how to do some more cool things Autodesk Inventor! Today, we’re going to learn how to “Chamfer”!
Step 1: Go ahead and open the 1st “Part” we made together (It looks like a Z). If you haven’t done so yet, open up this link: Autodesk Inventor Tutorial Series – Lesson 4. It can be finished quickly and is very fun!
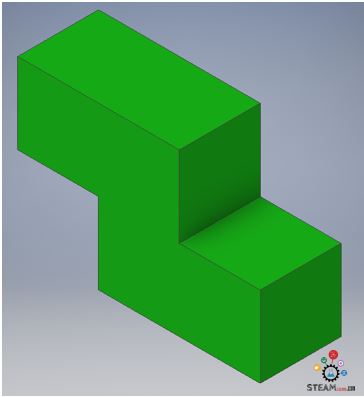
Step 2: Right-Click “Fillet 1” and Click “Delete”.

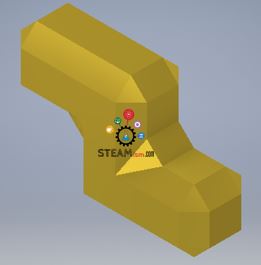
Step 3: Choose any “Edge” and Click “Create Chamfer”.
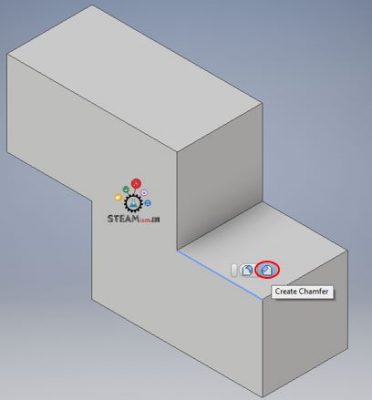
Step 4: Click on every “Edge” of your “Part”, use the default “Distance” (0.125 in.), and Click “OK”.
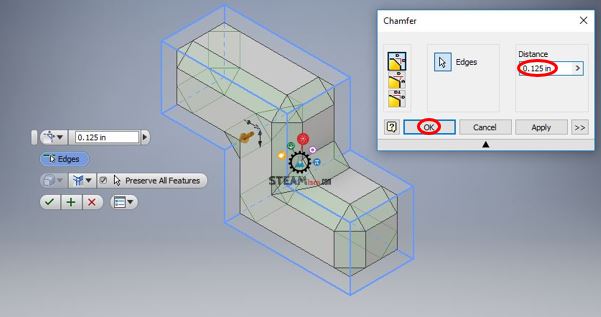
Step 5: Now you know how to “Chamfer”!
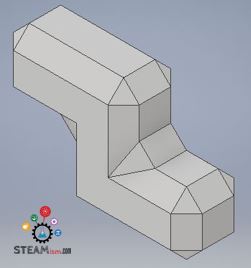
Step 6: Go ahead and choose any color to add to your “Part” like we learned during Lesson 4 and Lesson 5! Also, change the “Visual Style” to “Realistic” like we learned during Lesson 5! Don’t forget to Click “Save”!
Latest posts by Aniruddha Pochimcherla (see all)
- An Interview with the Co-Founders of Dermanostix - August 14, 2020
- NASA & SpaceX’s Successful Space Launch - June 12, 2020
- Types of Engineering - June 10, 2020
